Sunday, 3 August 2014

Dream Gate update

We have finished up the concepting stage and are now working on a presenting our concepts at the industry pitch. We will be pitching the content pack to a panel, this will include a power point presentation, Sell sheet and level moch ups.


Egypt Sell Sheet.


Aztec Sell Sheet.
 

Monday, 14 July 2014

Light in the Dark Update

Dream Gate update.


Working on Light in the dark, the team has chosen to go with the Aztec art style for the next content pack. Along with the new style we will introducing new game mechanics and features. Still in the early stages of concepting the level style as well as different designs for anti targets and other existing game features.


: Aztec Level concept.


: Anti target concept.


: A few other random concepts.


Tuesday, 1 July 2014

Internship at Dreamgate Studios

Recent i have started intern work at Dreamgate studios creating a content pack for their game light in the dark, a light based 2D puzzle game. The internship takes over my AIE studies so i still have to finish course requirements. So far i have been working on concepts for of what the theme of the content pack could be.
so of the ideas we have come up with were: Ice, Forest, Underwater, Noir/Grayscale, Safari, Aztec and space.


This is the first time i have worked on 2D game art, but im learning lots in the process. i am working on this pack with six interns including myself, 4 artists and two  


Monday, 16 June 2014

Making of Character


Concept.

This is a class project to create a rigged and animated game character using a game studios work pipeline.
The game company i chose was Eidos Montreal focusing on there character art pipeline from Deus ex human revolution. 

My idea for this character was to do something different and a bit of a rigging challenge. The work flow from Eidos worked well for this, they are able to put high detail into there main characters by only showing them in small rooms and rarely putting two together. This allowed more freedom in terms of memory, and can be much more complex and unique. 


Modeling 

Starting off in Zbrush I modeled the top half of the body and face. This was a bit of a slow process not been very familiar with the program, but sticking to the work flow was one of the project criteria. After the body was looking good, I started painting out were i wanted the muscle straps to go.


Using the extract tool on masked areas I was able to get the chest plate to follow the outline of the body.  


I then exported the model with the polly paint into Maya. Using the quad draw tool to get the edge loops in the right spots, extruding them out to give the muscle straps their shape.


Sculpting the lower half of the body into shape, and then using the same extract process to give it the plating. 


The legs were made using zspheres and then exported to Maya to to quad draw out the metal plates.  


Both the spine and hexagon chest piece were made using a duplicate along path script, were it takes an object and duplicates it along a nurbs curve.  


Back to Maya for retopology using a combination of Zbrush z remesher and Mayas quad draw.  


Texturing 

All textures were created inside Photoshop, and broken up into two parts, the top half of the body and the lower half. The normal and ambient occlusion maps were made using Xnormal.


Rigging 

The rig was made in Maya, it has full FK/IK blending, custom attributes and a joint based facial rigging.
This made the character essayer to animate.    


Animation


the animations consist of a walk, run, idle and pose. these were imported into the Unreal Engine 4. With some blending they were assigned to the character.  


Video was created in in unreal 4 with the persona animation system. 


Summery 


I enjoyed working on this character, it presented so challenges along the way never having started off making a character in Zbrush. The rig was also challenging bee the first time i have made a joint based face rig. the only part I would redo was the concepting stage. I had the basic idea of the character in my head when i started, but because of the unique design there was a lot of things i did not take into consideration. this effected the time spent on the modeling stage and threw my time line out a bit.

Displaying the character in unreal 4 was also a challenge i did fined the persona animation system easy to use. setting up a character controller in blue print was a bit harder but with some help from a programmer I was able to work it out.
       
The character itself came out came out close to what i wanted. A sleek and agile looking character with a unique design. 


Monday, 21 April 2014

New Project

Character Project.

Today i'm starting a new project for school. We have been asked to create a character to run in a game engine, while following a game company's fork flow, I have chosen Eidos Montreal. We have 6 weeks to concept, model, texture, rig, animate and present it in a engine of our choice.
I have started with a rough milestone breakdown and gathering reference.

 Milestone breakdown:

Programs: Zbrush, Maya, Xnormals and photoshop.  

Concepting: (one week, done by 28th of april)

my plan is to try to do a bit of concepting myself to get the silhouette and 3d space done, and rely on reference to show the detail for the individual pieces.
 
Reference sheet,
front and side view orthographic,
topology breakdown of individual pieces,  
one ¾ full render action shoot.

Modelling:  (approx 2 weeks done by 12th of May)

Most of the character will be done in maya, with hard surface modeling. the body and face will be done in Zbrush, the arm silhouettes will be done in zbrush and the muscle strands added it maya/max after.
In maya i will do a quick 3d model (silhouette) of the individual hard surface bits to get the proportions right, and then go back over them as high poly detailed pieces.
then re topo in maya.
   
high poly
Zbrush: body top half, face, arm silhouette for muscle strands. (top arms? not sure yet) high detail for some hard surface stuff if needed.
Maya: Legs front and back, lower body, helm/ face bits, spine bit back pieces.

low poly:
re topo all with correct topology in maya.

texturing: (approx 2 weeks done by 26th of may)

Unwrap and bake, x2, 2k maps. one for the face one for the rest
the unwrap will be done in maya using the raylight add on, bake out in xnormals and maya. the diffuse spec alfa will be done in photoshop and Zbrush.


Rigging: (approx 1 week done by 2nd of june)

full skeleton with ik/fk blend, joint based face rig.  to be put into persona skeleton system in the unreal engine 4.

Animation: ( 1 week done by 9nd of june)

a few simple looping animations, including: walk, run, a few different idles, attack, been hit and death.

Presentation in engin: ( a 3 days done by the 11th of june)

i would like to present the character in the Unreal engine 4 using persona and matinee to capture what in need.    

Assessment due date 11th of June

Monday, 7 April 2014

Environment Project Breakdown

This is going to be a breakdown of the Environment project.

This project was a class assignment to make a game environment, with two other art students.
The level itself could be presented in any game engine, we originally started off in UDK. With the release of The Unreal Engine 4, we decided to give the new engine a try.

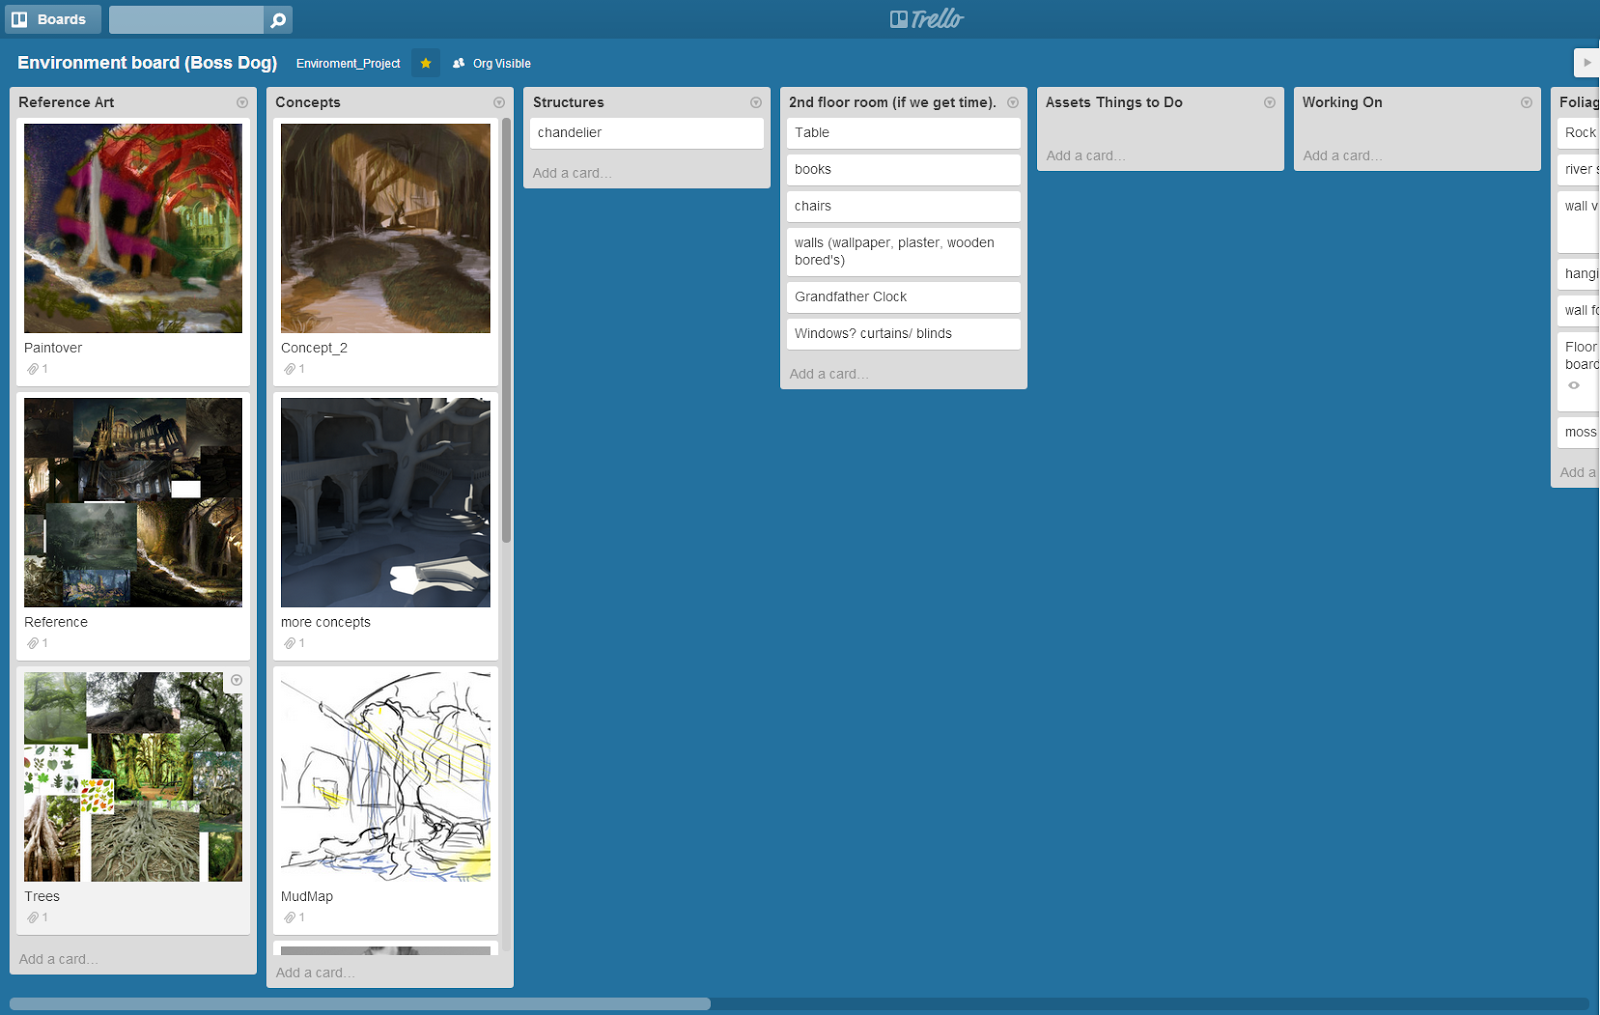
The original idea for this game environment was the entry hall to an old over grown manor house. With this in mined we looked up reference art, and started a project work flow on trello.


The next step was concept and grey boxing, the grey box was created in maya.


This concept created by Nicholas Williams. http://nicholaswilliamsart.blogspot.com.au/


The Next step was to Split up all the assets that we needed between the three of us.
the main assets that I was assigned were:


The Tree

The Roof


And the Door.


And finally into Unreal


More Shots and a Fly threw of the level can be seen at my site: http://www.adamnewmanart.com/


I am quite happy over all with how the level turned out, there are a few thing that I would like to redo and add to the environment. The waterfall was a hard thing to get right without flow maps (no one could work out how to get them working). been very new to the particle system it was difficult to get the splash looking good, given more time i would also like to have put a lite lay of particle fog just above the water.
The shader system was easy to work with, until I tried to get the transparency for the moss working, in the end i had to using a mask that did not look as good.
The lighting for the level looked really good, and was easy to back out, along with the reflection it defiantly made the environment come to life.

Big thanks to the Team and check out their work too.

Nicholas Williams http://nicholaswilliamsart.blogspot.com.au/
Rhys Smith http://rhys3d.blogspot.com.au/


Saturday, 5 April 2014

Level shots.

The project Environment is finally done.

The level was made in Unreal Engine 4, it has take myself and to other artists six weeks from start to finish. The idea for the environment was to make an entry hall to a manor house that has been reclaimed by nature.